All Posts By

Nicola La Gloria

Prototype a thermostat with warp_0x01

By | Site News | No Comments

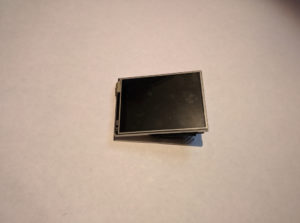
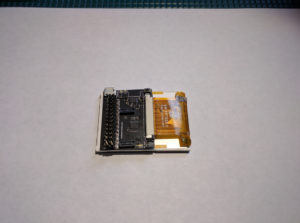
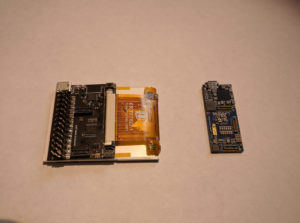
In this post we present how to prototype a simple thermostat with warp_0x01 using the new 2.2” small display and the new tiny interposer. Both the display and interposer are included in the bundle, refer to this post.

A simple QT5 application has been developed in Python and you can checkout the code here. The application includes a gradle script for fast deployment of the build artifacts on the warp via ssh using the USB eth gadget. Modify the gradle script to match your local connection between your host computer and the warp.

PyQT5 is included in the warpx Yocto meta-layer. You can checkout the meta-layer from here.

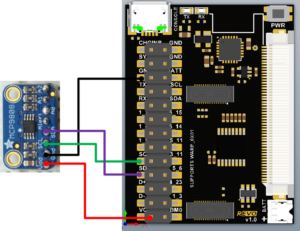
As a temperature sensor we selected the MCP9808 which comes in a nice package provided by Adafruit.

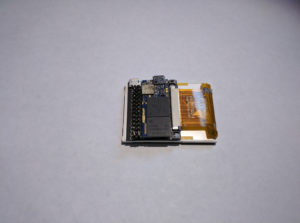
Next we wire the sensor board to the interposer board as follows.


After deploying the app, (gradle deploy) you can launch it. Remember to export the display (export DISPLAY=:0) from the shell if necessary.

The application should display the ambient temperature. Enjoy!

Connecting your MAC to the warp serial console.

By | Tutorial | No Comments

In this post we will cover how to connect your Mac to the warp using the serial console if your warp is programmed with Yocto.

There are two possible configurations:

  1. you have just the warp
  2. you have the warp docked to the interposer board.

In the case that you have only the warp board, the serial console will be accessible because the multi_gadget kernel module is loaded at boot time. Using the same MicroUSB cable that powers the board, after few seconds you will find in your Mac a device like:

/dev/tty.usbmodem14223

Next, you can use a terminal emulation program like minicom to open the serial console.

If you have only the warp, the terminal does not provide output until the module has been loaded. This means that you will not be able to access the boot loader stage.


In the case you have also the interposer board, just connect a MicroUSB to the “CONSOLE DEBUG” port.

After connecting, your Mac will show a device like:

/dev/tty.SLAB_USBtoUART[xx]

where xx is a two digit number that may vary depending on the dynamic device name allocation.

Having the interposer allows you to have access also to the U-Boot stage.

Just use a terminal emulation program like minicom to open such device.

Note: The warp board must also be powered on. While plugged into the interposer board, the warp does not require it’s own Micro USB connection. The interposer provides adequate power for both itself and the warp from a single Micro USB connection on the Console/Debug port. Ensure that the warp is powered on by pressing the “PUSH BTN 1 (PMIC PWR)” button on the interposer.